Gluten-Free Dairy-Free Sweet Potato Pie


Joy Wilson is well known for her daily dabbles in butter and sugar as her blogging alter ego, Joy the Baker. A California girl and longtime New Orleans resident who now calls Bellville, TX home, Joy is a 100% taste buds-taught baker and home cook. She's a three-time cookbook author, photographer, teacher and storyteller who has been sharing recipes and real-life reflections with a devoted community since launching Joy the Baker in 2008. What began as a small baking blog has grown into a beloved culinary platform including her Baked In newsletter, and The Bakehouse Texas, her small-batch pop up bakery.
- Dessert
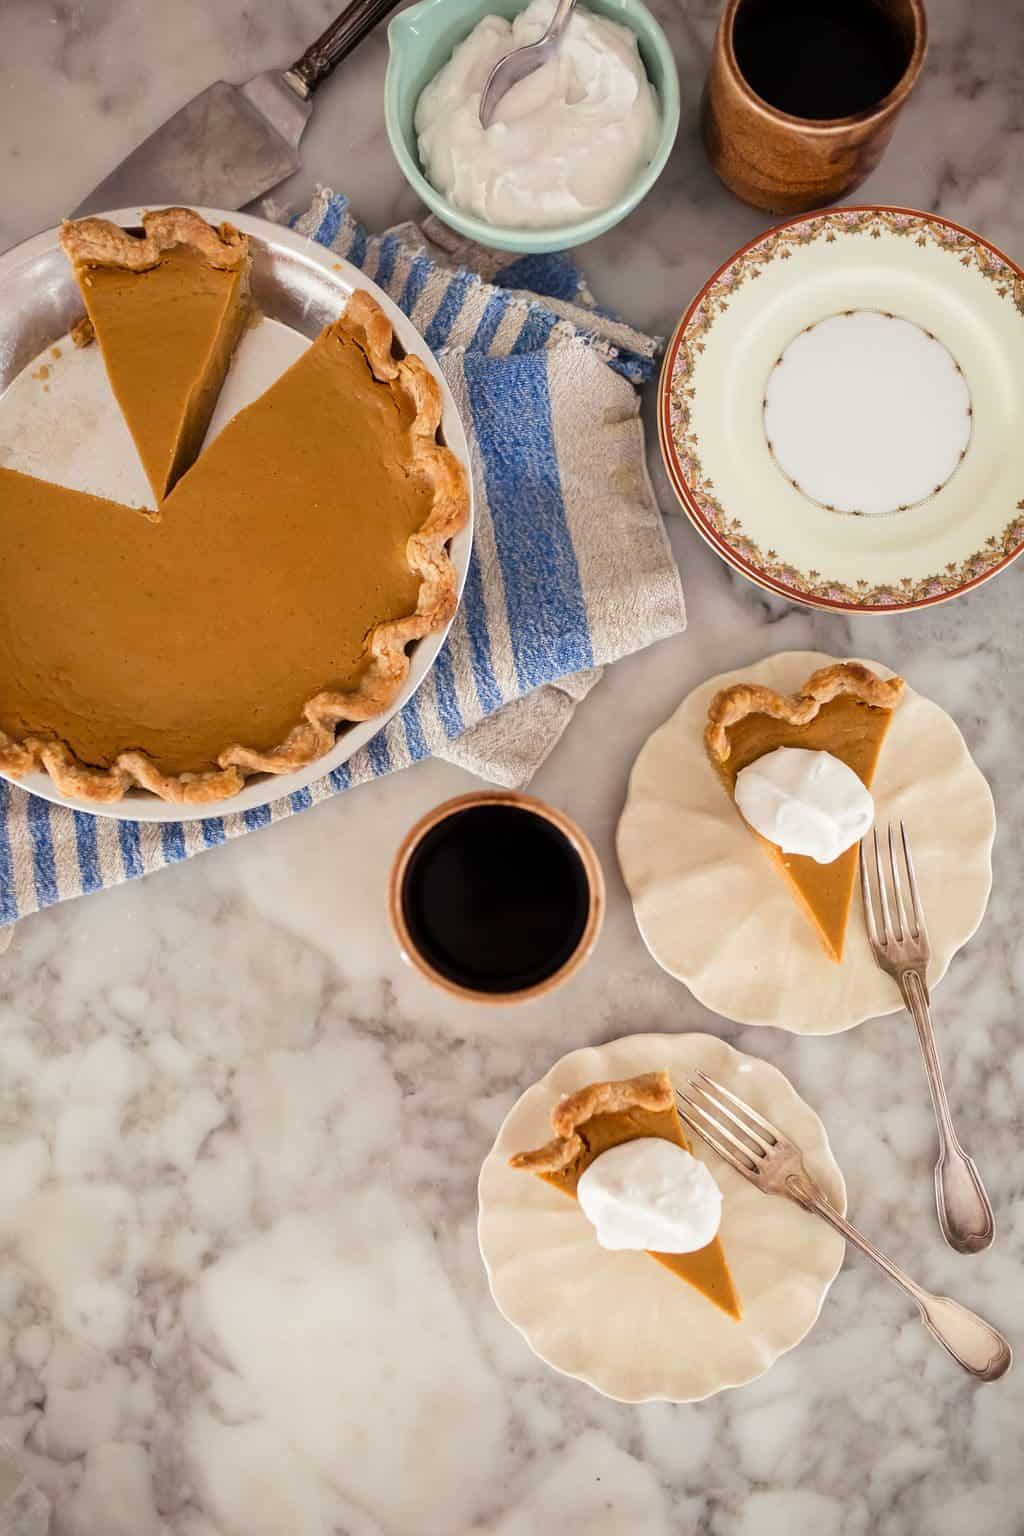
My dad’s sweet potato pie, rebuilt. The crust gets laminated like puff pastry, which is the whole trick.
At 360 calories a slice, this sweet potato pie is a straight swap on my favorite Thanksgiving pie without sacrificing flavor or texture: gluten-free flour blend for all-purpose, coconut sugar for brown, oat milk and vegan butter standing in for dairy. You can serve it to a table of gluten, dairy, and sugar lovers and no one clocks the difference. The real trick is the crust. You’ll laminate the dough (two quick letter-folds before chilling) to force flake into a gluten-free pastry, which usually bakes up dense or crumbly. Total time runs a little over 2 hours including a 30-minute chill, so this is a make-ahead pie. Serve chilled or at room temperature with coconut whipped cream and black coffee.
Nutrition (per serving)
| Calories | 360 |
|---|---|
| Protein | 4g |
| Carbs | 46g |
| Fat | 17g |
Ingredients
For the Crust
| Gluten-free flour blend (I used Bob’s Red Mill) | 1 1/2 cups (185g) |
|---|---|
| Coconut sugar | 1 tablespoon (8g) |
| Kosher salt | 1/2 teaspoon |
| Ground chia seeds | 1 tablespoon (5g) |
| Vegan butter (I used Earth Balance) | 8 tablespoons (1 stick) |
| Coconut yogurt | 1 tablespoon |
| Cold water | 1/3 cup |
For the Filling
| Sweet potato, peeled, diced, and boiled | 2 heaping cups (about 385g) |
|---|---|
| Coconut sugar | 1/2 cup (62g) |
| Ground coriander | 1 1/4 teaspoon |
| Freshly grated nutmeg | 1/2 teaspoon |
| Cinnamon | 1/2 teaspoon |
| Salt | 1/4 teaspoon |
| Coconut oil | 2 tablespoons |
| Oat milk | 1 cup plus 2 tablespoons |
| Large eggs | 3 |
| Maple syrup | 1/4 cup |
| Vanilla extract | 1 teaspoon |
Step-by-Step Instructions
1 Cut the butter into the flour.
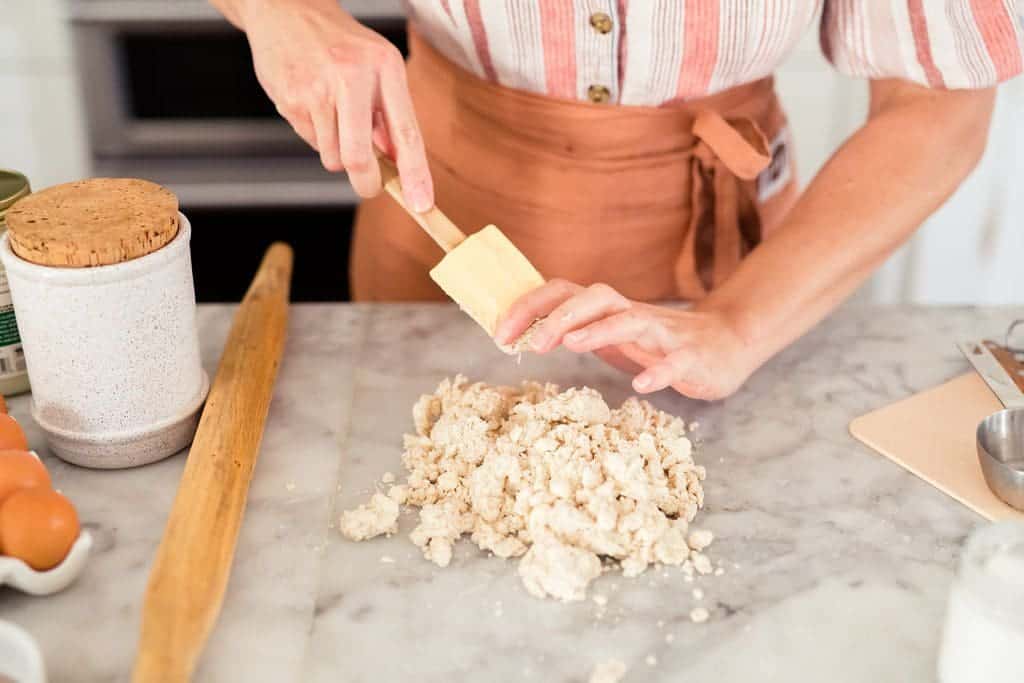
In a medium bowl, whisk together flour, sugar, salt and chia seeds. Add cold, cubed vegan butter and, using your fingers (or a potato masher), work the butter into the flour mixture. Quickly break the butter down into the flour mixture, some butter pieces will be the size of oat flakes, some will be the size of peas. Create a well in the mixture and spoon in coconut yogurt. Pour in most of the water, leaving behind a tablespoon or two to add later, if necessary. Use a fork to bring the dough together. Try to moisten all of the flour bits. Add the remaining water if necessary, but you want the mixture to be shaggy and not outwardly wet.
2 Knead into a rectangle.
On a lightly floured work surface, dump out the dough mixture. It will be moist and shaggy. That’s perfect. Gently knead into a rectangle.
3 Make the first letter fold.
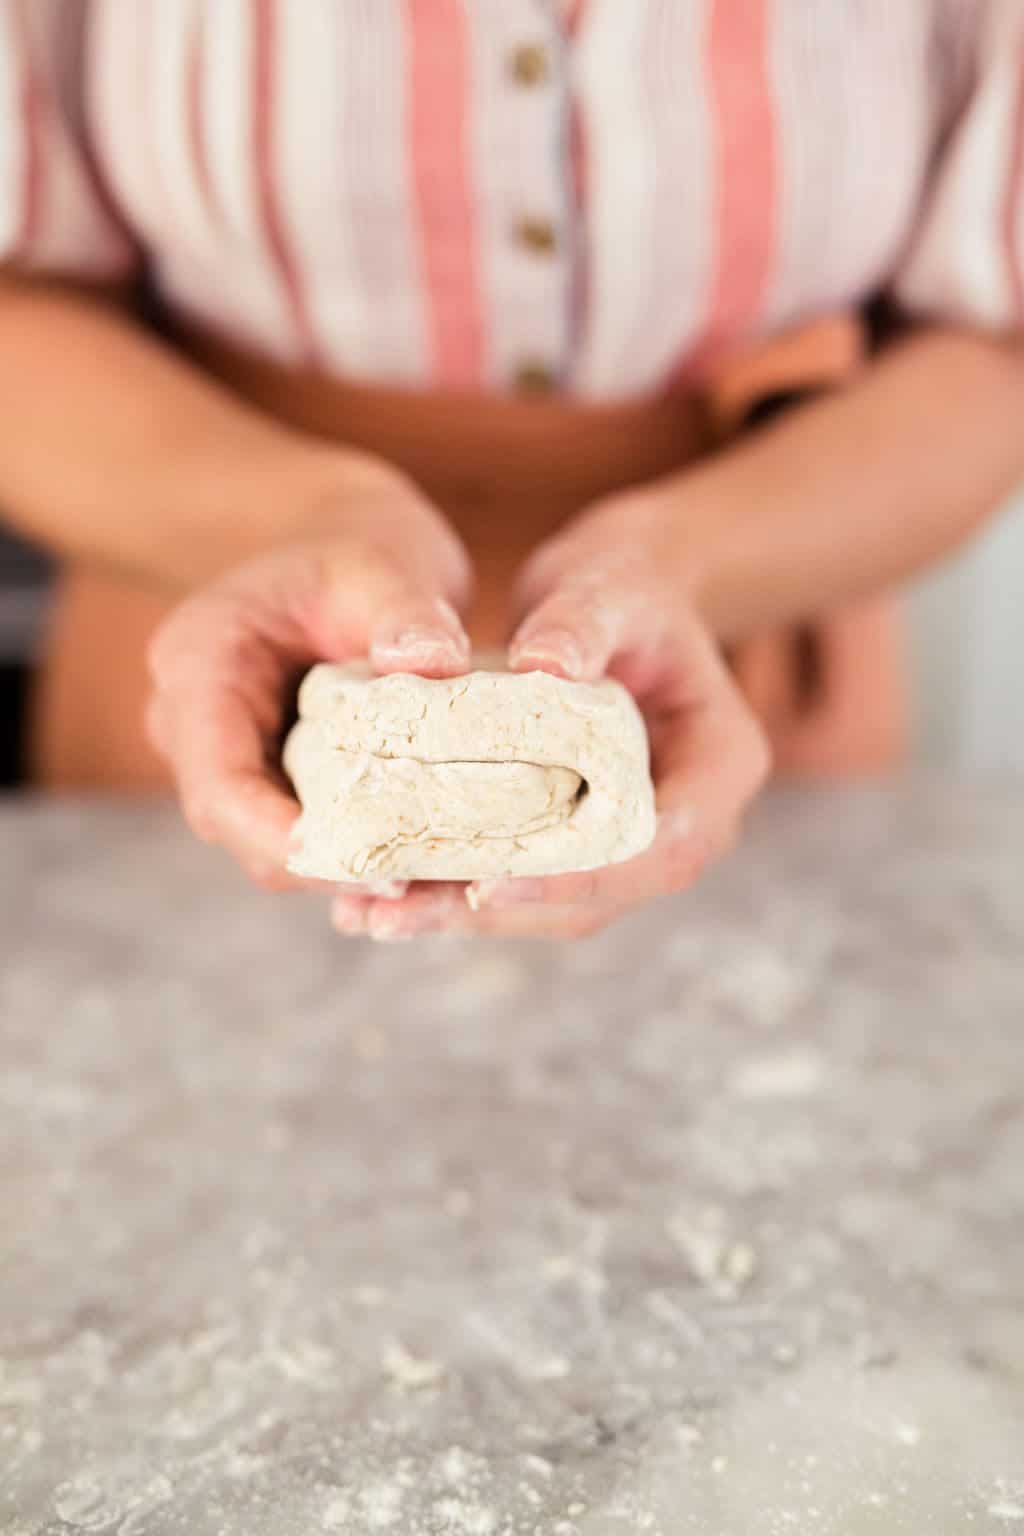
Gently roll the dough into a rectangle about 10 to 12-inches long, 4-inches wide and 1-inch thick. (This doesn’t have to be exact.) Position the dough so that the short side is facing you and the long end extends away from you. Fold the bottom of the dough ⅓ of the way up. Fold the top of the dough ⅓ of the way down creating a letter fold.
4 Fold again.
Rotate the dough letter a quarter turn so the folded rough edges are facing you and extending away from you. Roll and fold once more for a total of two laminations.
5 Chill the disk.
Wrap the disk in plastic wrap and refrigerate for 30 minutes. Allowing the dough to rest in the refrigerator will help re-chill the butter and distribute the moisture but you don’t want it to be completely chilled through. If you keep your dough in the refrigerator for longer than 30 minutes or overnight, let it rest on the counter for 10 minutes before rolling.
6 Roll it out.
Place the dough between two pieces of floured parchment paper (or parchment and a Silpat, or two pieces of plastic wrap). Roll the dough out evenly, turning the dough over frequently and lifting and smoothing the paper or plastic so it doesn’t create any creases. You can dust a bit more flour too if you’d like. The circle should be 12–14 inches in diameter and about ¼-inch thick. Slide the dough (still between the paper or plastic) onto a baking sheet or cutting board and refrigerate for about 1 hour. The dough can also be refrigerated overnight or well-wrapped and frozen.
7 Line the pie plate.
When the dough is thoroughly chilled, place the dough on the counter and let it rest for about 10 minutes or until it’s pliable enough to bend without breaking. Remove one piece of paper or plastic from the dough. Invert it onto the pie plate and remove the second piece. Gently press the dough into the edges of the pan. It’s ok if the dough tears a bit, just press and tear back together. Allow the excess dough to rest over the sides. Trim so the crust overhangs just 1-inch and fold the excess crust under and crimp with your fingers or a fork. Press the tines of a fork into the bottom and sides of the pie crust to dock it before par-baking. Refrigerate while the oven preheats.
8 Par-bake the shell.
Place a rack in the upper third of the oven and preheat the oven to 375°F. Line the chilled pie with parchment paper and top to the brim with pie weights or dried beans. Bake for 10 minutes. Carefully remove the beans and return the pie shell to the oven. Bake for another 5 to 7 minutes until the pie crust appears dry and is just barely golden.
9 Boil the sweet potatoes.
To make the filling, first peel the sweet potatoes. Dice the sweet potatoes into large, 3-inch chunks. Place potato pieces in a large pot and cover with cool water. Place over medium high heat and bring to a boil. Reduce heat to medium and simmer until the potatoes are tender throughout, about 20 minutes. Test the doneness of the potatoes using a thin knife. If the knife meets any resistance, simmer the potatoes a bit longer. Drain into a colander.
10 Cook the filling base.
In the same large pot place cooked potato pieces, the coconut sugar, all of the spices, salt, coconut oil, and half of the oat milk. Cook on low flame, using a potato masher to mash the potatoes as they cook. Allow to cook for about 5 minutes until fragrant. Once mixture is fragrant, remove from the stovetop and transfer to a medium bowl.

11 Whisk in the eggs.
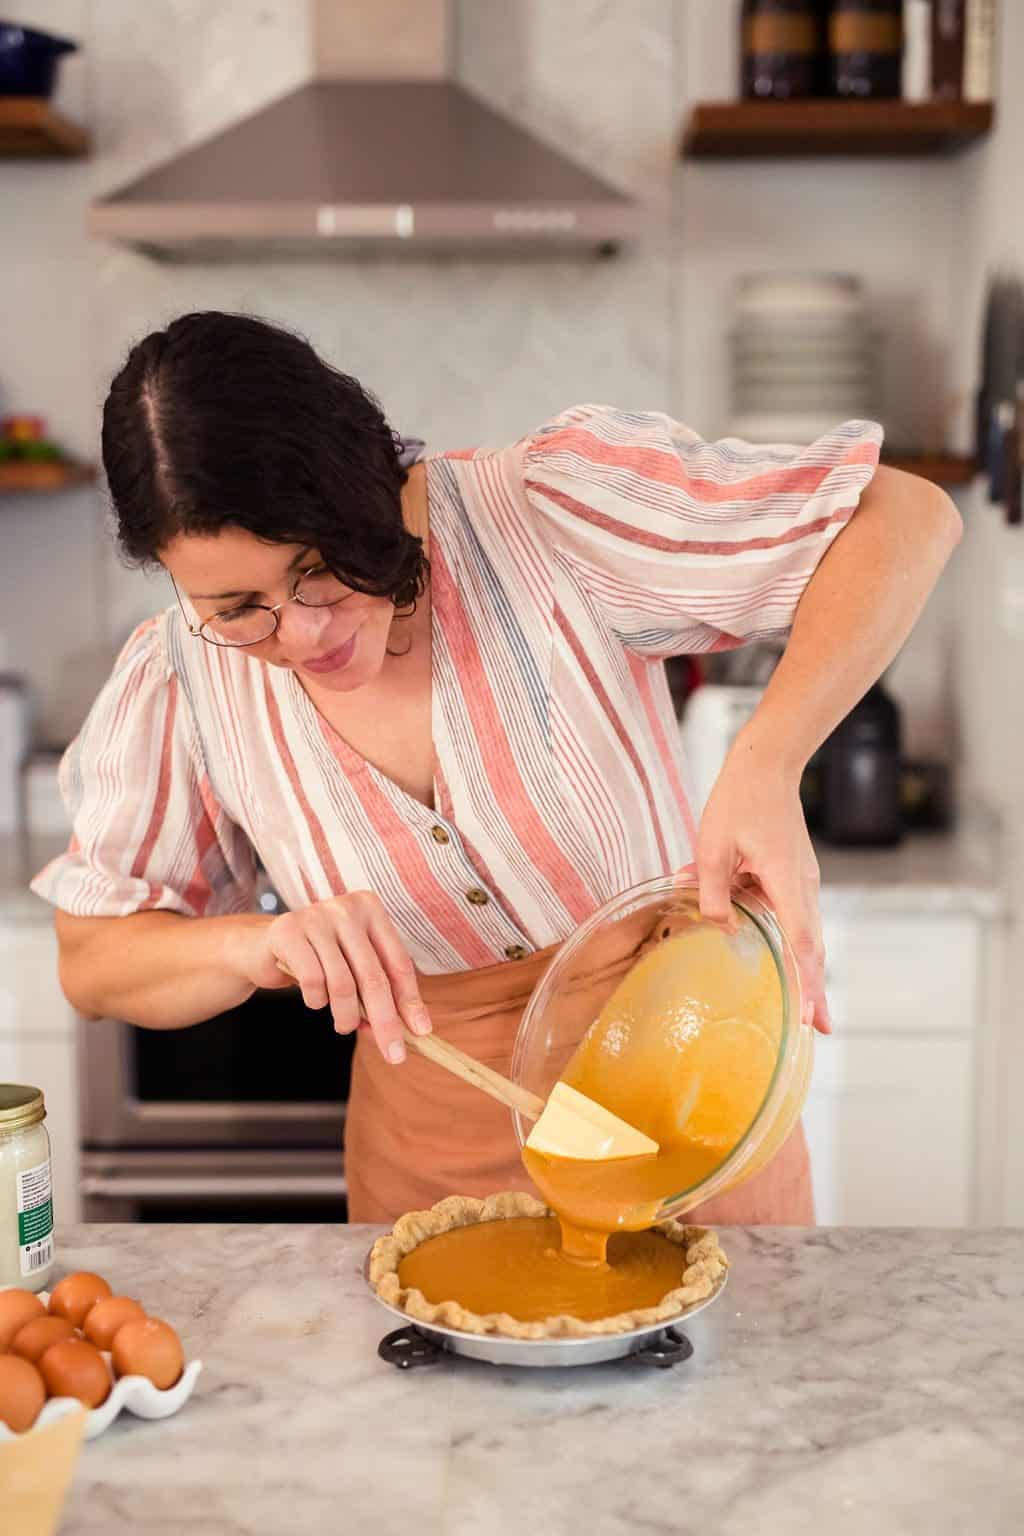
Whisk in the remaining oat milk, eggs, maple syrup, and vanilla extract. Whisk until well combined. Make sure that the mixture is as smooth as possible. I used an immersion blender to completely smooth the mixture.
12 Bake the pie.
Pour the prepared filling into the pie crust. Place on a baking sheet and bake for 10 minutes at 375°F. Reduce the heat to 325°F and cook until cooked through, about 45 to 50 minutes.
13 Test the jiggle.
To test the pie for doneness lightly shake the baking sheet. If the center of the pie has a wavy jiggle it needs more time in the oven. If the center of the pie has a lighter, more structured jiggle, it’s done!
14 Cool and serve.
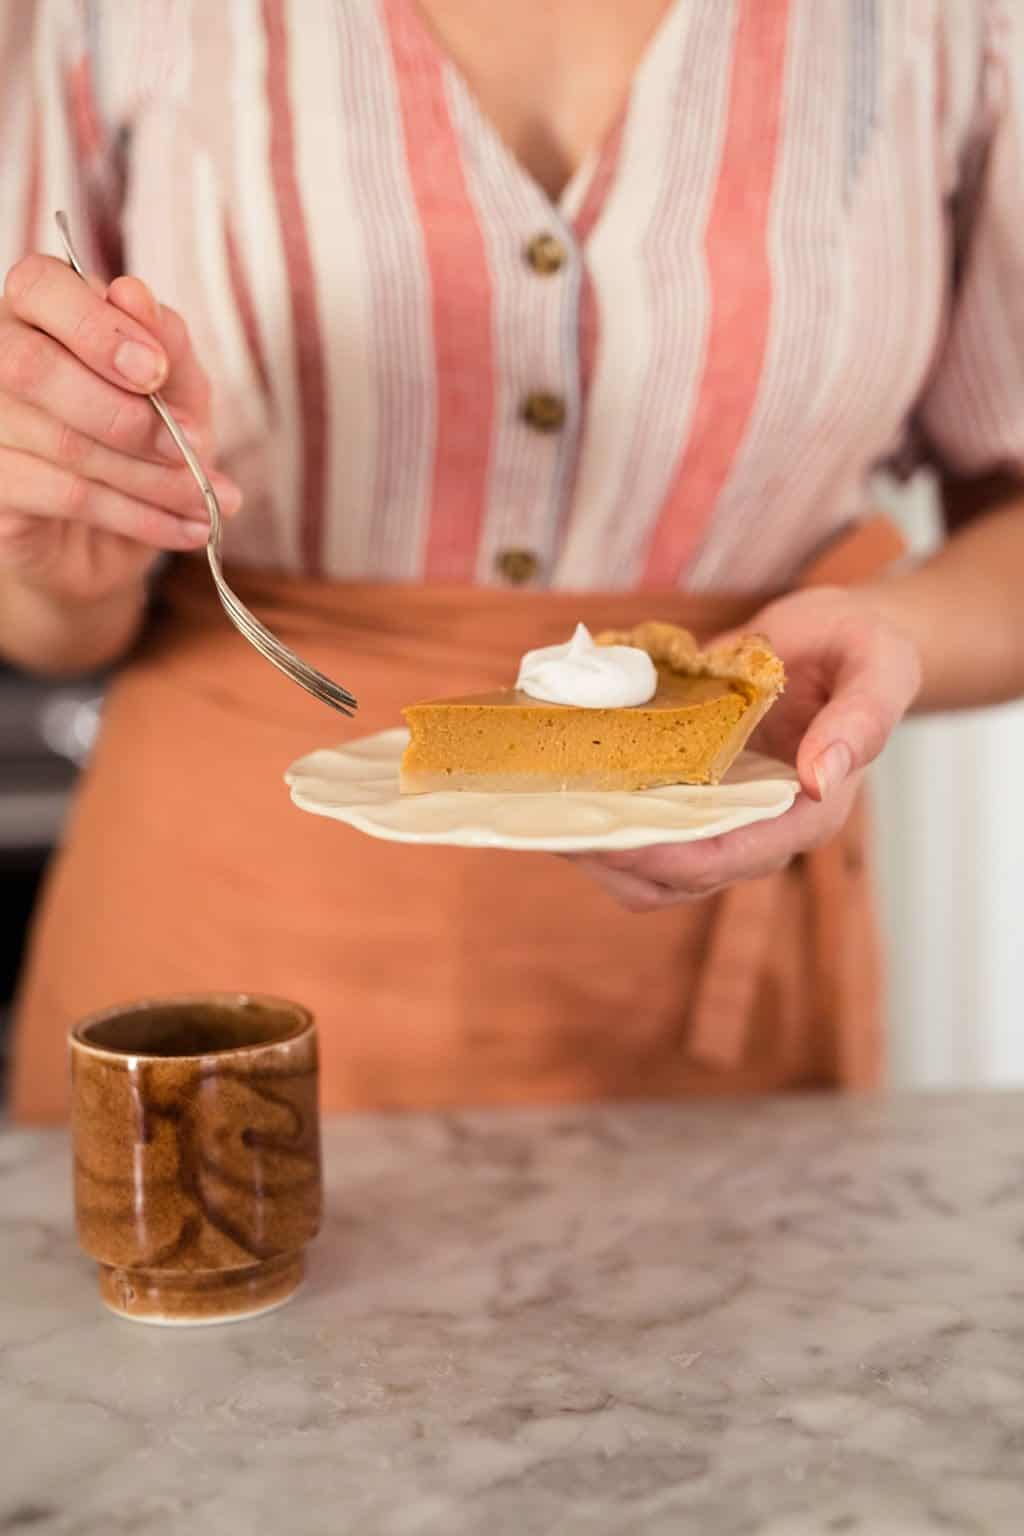
Allow to cool to room temperature before serving, or serve chilled from the refrigerator. I like this topped with dollops of coconut whipped cream and black coffee.
Notes & Tips
- Storage: The fridge life for this is up to 4 days, well-wrapped. I actually prefer it chilled overnight before serving. It firms the filling and doubles as the wait time for chilling a can of coconut cream for whipped topping.
- Freeze the crust: The raw crust freezes well — roll it out, wrap tightly, freeze flat.
- Swaps that work: Coconut yogurt can be any thick, tangy yogurt. Ground chia can be swapped for ground flaxseed in the crust. For the butter, Earth Balance is the tested favorite. I tried shortening (bad flavor) and coconut oil (harder to work with), so stick with a stick-style vegan butter.
- Don’t skip the eggs: I tested this recipe with flax eggs and it wasn’t as silky smooth and had trouble setting in the oven. You’re welcome to try it, I just prefer this recipe with eggs.
Joy Wilson is well known for her daily dabbles in butter and sugar as her blogging alter ego, Joy the Baker. A California girl and longtime New Orleans resident who now calls Bellville, TX home, Joy is a 100% taste buds-taught baker and home cook. She's a three-time cookbook author, photographer, teacher and storyteller who has been sharing recipes and real-life reflections with a devoted community since launching Joy the Baker in 2008. What began as a small baking blog has grown into a beloved culinary platform including her Baked In newsletter, and The Bakehouse Texas, her small-batch pop up bakery.